
How Heat Pump Installation Works: A Homeowner's Guide
Discover how heat pump installation works to maximize comfort and reduce energy bills. Control your home's climate efficiently.
How Heat Pump Installation Works: A Homeowner’s Guide
Heat pump installation is the systematic process of assessing, selecting, and setting up heat pump equipment to efficiently provide both heating and cooling in a home. Understanding how heat pump installation works before the crew arrives puts you in control of the outcome. A properly installed system can reduce heating bills by up to 69% in warm climates compared to older electric resistance systems. The difference between a comfortable, efficient home and a frustrating one often comes down to how well each installation step is executed.
How does the in-home assessment and load calculation work?
The first step in any quality heat pump installation process is a thorough in-home evaluation. A technician visits your home to gather data that no online calculator can replicate. Skipping this step is the single most common reason homeowners end up with a system that is too large or too small for their space.
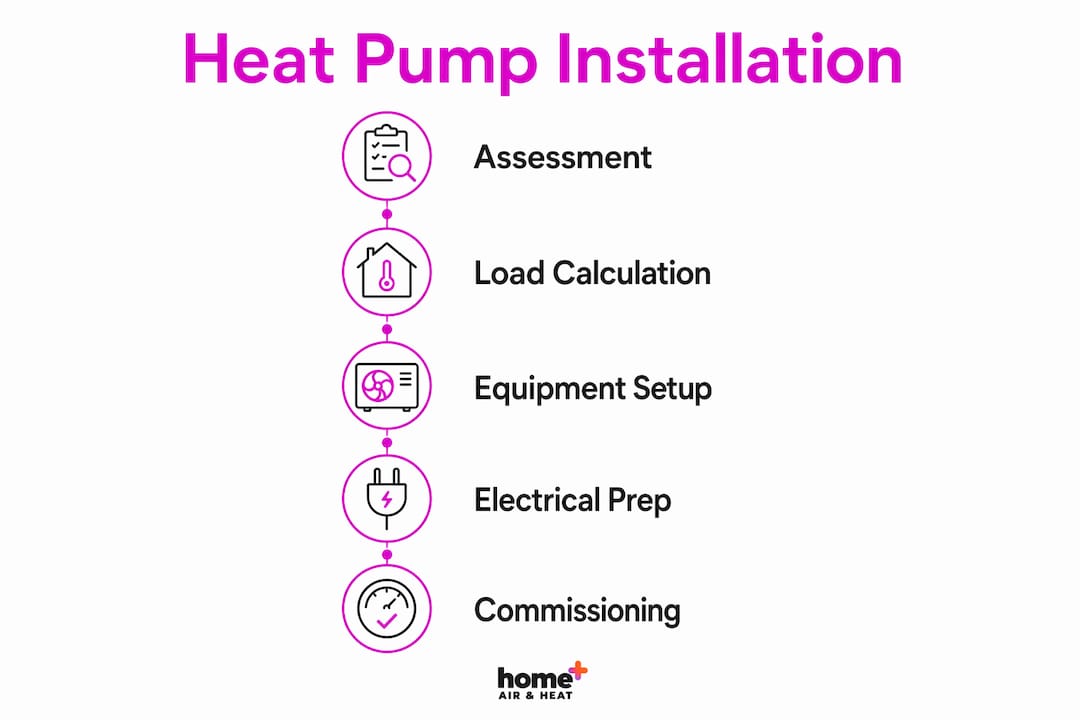
The centerpiece of this evaluation is a Manual J load calculation. This industry-standard method accounts for your home’s insulation R-values, window efficiency ratings, ceiling height, local design temperatures, and even how much sun each wall receives. Square footage alone tells a technician almost nothing useful.
During the site visit, the installer also checks:
- Ductwork condition — existing ducts must be sized and sealed for heat pump airflow requirements
- Electrical panel capacity — the panel must support a dedicated 240-volt circuit
- Outdoor unit placement — clearance, drainage, and airflow around the unit matter for long-term performance
- Indoor air handler location — access for maintenance and return air paths affect comfort
Homeowners should avoid any installer who offers a firm quote without visiting the property. Code-compliant installations require precise site evaluation, and a phone-based quote is a red flag.
Pro Tip: Ask your installer to show you the completed Manual J calculation. A reputable technician will have it in writing before any equipment is ordered.
How is the heat pump equipment physically installed?
Once the assessment is complete and equipment is ordered, the physical installation begins. This phase has several distinct steps that must happen in the right sequence.
- Remove old equipment. The existing heating or cooling system is disconnected. If refrigerant is present, a certified technician recovers it safely per EPA Section 608 regulations before any lines are opened.
- Set the outdoor unit. The condensing unit is placed on a level concrete or composite pad with adequate clearance on all sides for airflow. On Long Island, Hometsair technicians pay special attention to elevation above grade to protect against coastal flooding and salt-air corrosion at the base.
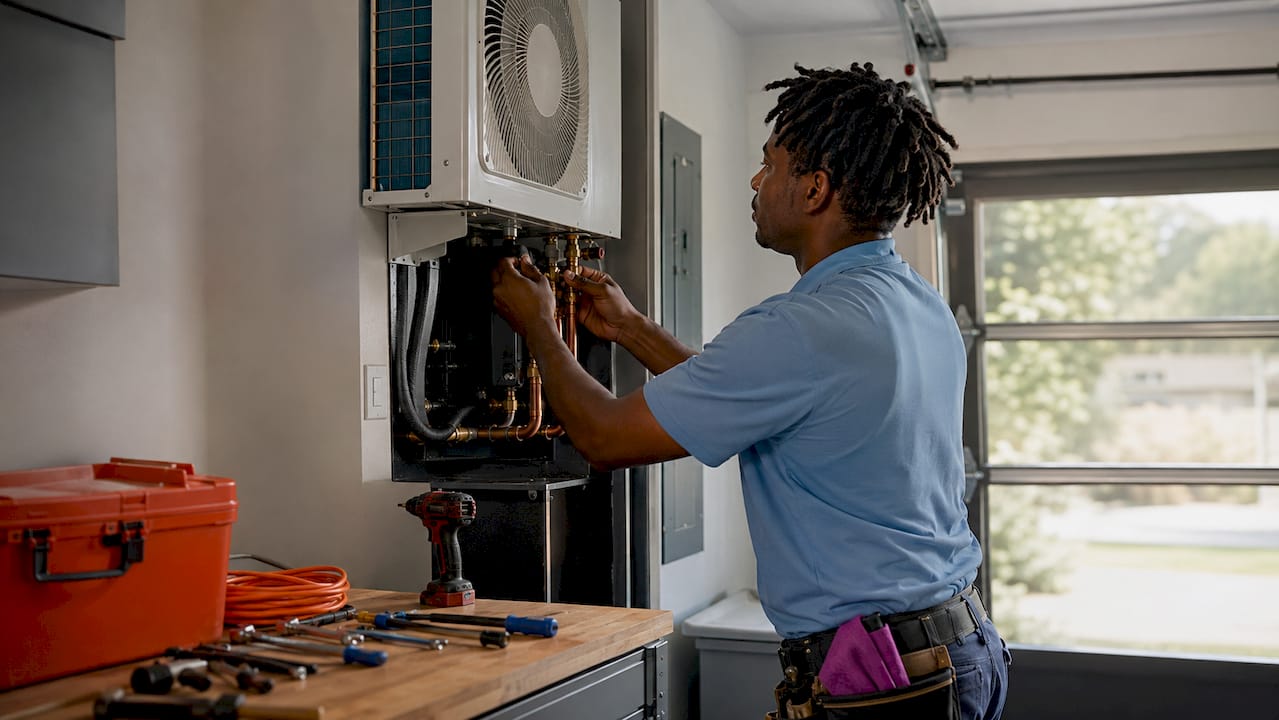
- Install the indoor air handler. In ducted homes, the air handler replaces the old furnace or coil in the existing duct system. In homes without ductwork, a ductless heat pump wall unit is mounted high on an interior wall with a short line set run to the outside.
- Run refrigerant lines and electrical wiring. Copper refrigerant lines connect the indoor and outdoor units. These lines must be insulated along their entire length to prevent energy loss. Electrical wiring runs from the breaker panel to both units.
- Seal all wall penetrations. Every hole through the building envelope gets sealed with foam or mastic to prevent air infiltration and pest entry.
Reusing existing copper refrigerant lines is sometimes possible if they meet the new equipment manufacturer’s specifications and show no signs of corrosion or damage. Replacement is often the safer call for reliability, especially in older homes.
Pro Tip: If your installer plans to reuse old refrigerant lines, ask them to document that the line diameter, length, and condition meet the new equipment’s published specifications.
What electrical requirements and ductwork considerations apply?
Electrical preparation is one of the most overlooked parts of the heat pump setup process. A heat pump requires a dedicated 240-volt circuit, typically 30–60 amps, depending on the unit’s capacity. That circuit must be verified before installation day, not discovered as a problem during it.
Many installers overlook electrical panel capacity during the quoting phase. Failure to verify panel capacity early can force costly last-minute service upgrades that delay the project by days. If your panel is already near capacity, a subpanel or full panel upgrade may be needed. Surge protection is also worth adding at installation time, since heat pump compressors are sensitive to voltage spikes.
Ductwork deserves equal attention. Heat pumps move large volumes of air at lower temperatures than gas furnaces, which means duct sizing and sealing matter more than most homeowners expect. Leaky or undersized ducts reduce system efficiency and create uneven comfort throughout the home. A technician should test duct leakage and repair any gaps before the new system is commissioned.
The payoff for getting this right is significant. Switching from electric resistance heating to a high-efficiency heat pump can cut annual heating energy use by up to 75%. Pairing that with tight ducts and a properly sized circuit means the system delivers those savings from day one. For homeowners interested in the broader picture of energy bill reductions, electrical upgrades and heat pump installations often work together as a package.
How is the refrigerant charged and the system commissioned?
Commissioning is the phase that separates a good installation from a great one. Industry experts identify startup and testing as the key differentiator of quality work. Powering a system on is not the same as commissioning it.
The commissioning sequence follows these steps:
- Pressure test the refrigerant circuit. The technician pressurizes the lines with nitrogen and holds pressure for a set period to confirm there are no leaks.
- Pull a deep vacuum. A vacuum pump removes all moisture and non-condensable gases from the refrigerant circuit. Rushing this step causes compressor failure over time.
- Charge refrigerant to spec. The refrigerant charge must match the manufacturer’s specification for the actual line length and ambient conditions. An incorrect charge reduces efficiency and shortens compressor life.
- Balance airflow. The technician measures airflow at each register and adjusts dampers or fan speed to distribute conditioned air evenly.
- Configure the thermostat. Variable-speed inverter heat pumps require specific thermostat settings to unlock their full efficiency. A standard thermostat paired with an inverter system leaves performance on the table.
- Test all operating modes. Heating, cooling, and defrost cycles are each verified. Electrical measurements confirm the system draws the correct amperage.
A thorough commissioning takes 45–90 minutes at minimum. Any installer who powers the system on and leaves within 20 minutes has not finished the job.
Pro Tip: Ask your technician to walk you through the thermostat settings and explain the defrost cycle before they leave. A quality installation includes a homeowner walkthrough covering filter changes, warranty registration, and what normal system sounds look like.
How long does a heat pump installation take?
A standard heat pump installation takes 4–8 hours for an experienced crew working on a straightforward replacement. Complex projects involving ductwork modifications, electrical panel upgrades, or multi-zone ductless systems can extend the timeline to 1–5 days.
Several factors push a project toward the longer end:
- Electrical upgrades — scheduling an electrician adds at least one additional visit
- Ductwork repairs or replacement — significant duct work can add a full day or more
- Multi-zone ductless systems — each additional indoor unit adds roughly 1–2 hours
- Difficult equipment access — attic or crawlspace installations take longer than basement setups
- Equipment availability — supply chain delays can push start dates by days or weeks
You can prepare your home to keep the project on schedule. Clear a 3-foot path to the indoor air handler location and the outdoor unit area. Confirm that a licensed electrician has already evaluated the panel if upgrades are needed. Have your existing system’s model number and any past service records ready for the technician.
Clear communication with your installer about the schedule prevents surprises. Ask for a written timeline before work begins, and confirm who to contact if the project runs long. A detailed installation plan from your contractor should outline each phase and its expected duration.
Key Takeaways
A properly executed heat pump installation, from Manual J load calculation through thorough commissioning, is the foundation of lasting energy savings and consistent home comfort.
| Point | Details |
|---|---|
| Load calculation first | Manual J sizing prevents oversized or undersized equipment and comfort problems. |
| Electrical prep is critical | Verify 240-volt, 30–60 amp circuit capacity before installation day to avoid costly delays. |
| Duct integrity matters | Seal and size ducts correctly; leaks reduce efficiency and create uneven temperatures. |
| Commissioning takes time | Pressure testing, vacuum, refrigerant charge, and airflow balancing require 45–90 minutes minimum. |
| Timeline varies | Standard installs take 4–8 hours; complex projects with electrical or duct work can run 1–5 days. |
What I’ve learned after years of watching heat pump installations go wrong
The most expensive heat pump mistake I see homeowners make is choosing an installer based on price alone. A low bid almost always means a skipped load calculation, reused refrigerant lines that don’t meet spec, or a commissioning phase that lasts 15 minutes. The system runs, but it never performs the way the manufacturer’s efficiency ratings promise.
The second most common mistake is ignoring the electrical panel until installation day. I have watched projects grind to a halt because the panel had no room for a 40-amp breaker. That discovery costs the homeowner an extra electrician visit, a permit, and sometimes a week of waiting. A good installer catches this during the site survey and schedules the electrical work first.
What actually separates a great installation from an average one is the commissioning phase. Technicians who take their time on vacuum decay tests and refrigerant charge verification are protecting your compressor. That compressor is the most expensive part of the system. Rushing commissioning to save an hour is a false economy that shows up as a warranty claim two years later.
My honest advice: ask every installer you interview to describe their commissioning process in detail. If they cannot explain the vacuum test or tell you how they verify refrigerant charge for your specific line length, keep looking. The right certified contractor will answer those questions without hesitation.
— Blake
Ready to get your heat pump installed the right way?
Understanding the installation process is the first step. The next is working with a team that executes every phase correctly, from the initial load calculation to the final homeowner walkthrough.

Hometsair’s NATE-certified technicians serve Long Island homeowners with same-day response, zero overtime fees, and full pricing transparency before any work begins. Whether your home has existing ductwork or needs a ductless solution, Hometsair handles the electrical assessment, equipment installation, and commissioning as a complete package. Get a free installation quote and find out exactly what your home needs. Hometsair also offers maintenance plans to protect your investment long after installation day.
FAQ
How long does a heat pump installation take?
A standard heat pump installation takes 4–8 hours for an experienced technician. Complex projects involving ductwork repairs, electrical upgrades, or multi-zone systems can extend to 1–5 days.
What electrical work is needed for a heat pump?
Heat pumps require a dedicated 240-volt circuit, typically rated at 30–60 amps. Your electrical panel must have the capacity to support this circuit before installation begins.
Can I reuse my existing refrigerant lines?
Existing copper refrigerant lines can sometimes be reused if they meet the new equipment’s diameter, length, and condition requirements. Replacement is often recommended for older or corroded lines to avoid reliability problems.
What is a Manual J load calculation?
Manual J is the industry-standard method for sizing heating and cooling equipment. It accounts for insulation, window efficiency, ceiling height, and local climate to determine the correct heat pump capacity for your home.
How much can a heat pump lower my heating bills?
A high-efficiency heat pump can reduce annual heating energy use by up to 75% compared to electric resistance heating and lower heating bills by up to 69% in warm climates, according to energy industry data.