
Heating Cost Reduction Checklist for Homeowners
Use this heating cost reduction checklist to lower your bills and stay cozy. Simple tips can save up to 10% on heating costs this winter!
Heating Cost Reduction Checklist for Homeowners
A heating cost reduction checklist is a curated set of proven actions that lower your home’s heating expenses while keeping you comfortable all winter. The U.S. Department of Energy confirms that simple thermostat adjustments alone can cut annual heating costs by up to 10%. Combine that with air sealing, regular HVAC maintenance, and a few targeted upgrades, and the savings compound quickly. This checklist covers every major step, from the easiest DIY fixes to the professional tune-ups that protect your system long-term.
1. Adjust your thermostat strategically
Thermostat management is the single fastest way to reduce heating bills without spending a dime on equipment. Lowering your thermostat 7–10 degrees for 8 hours a day saves up to 10% annually on heating costs. That works out to roughly 3% savings for every single degree you drop.
The key is building a consistent schedule around your household’s routine:
- Set the thermostat to 68°F when you are home and awake.
- Drop it to 60–62°F overnight while everyone sleeps.
- Lower it to 60°F during the hours your home is empty.
- Program different settings for weekdays versus weekends.
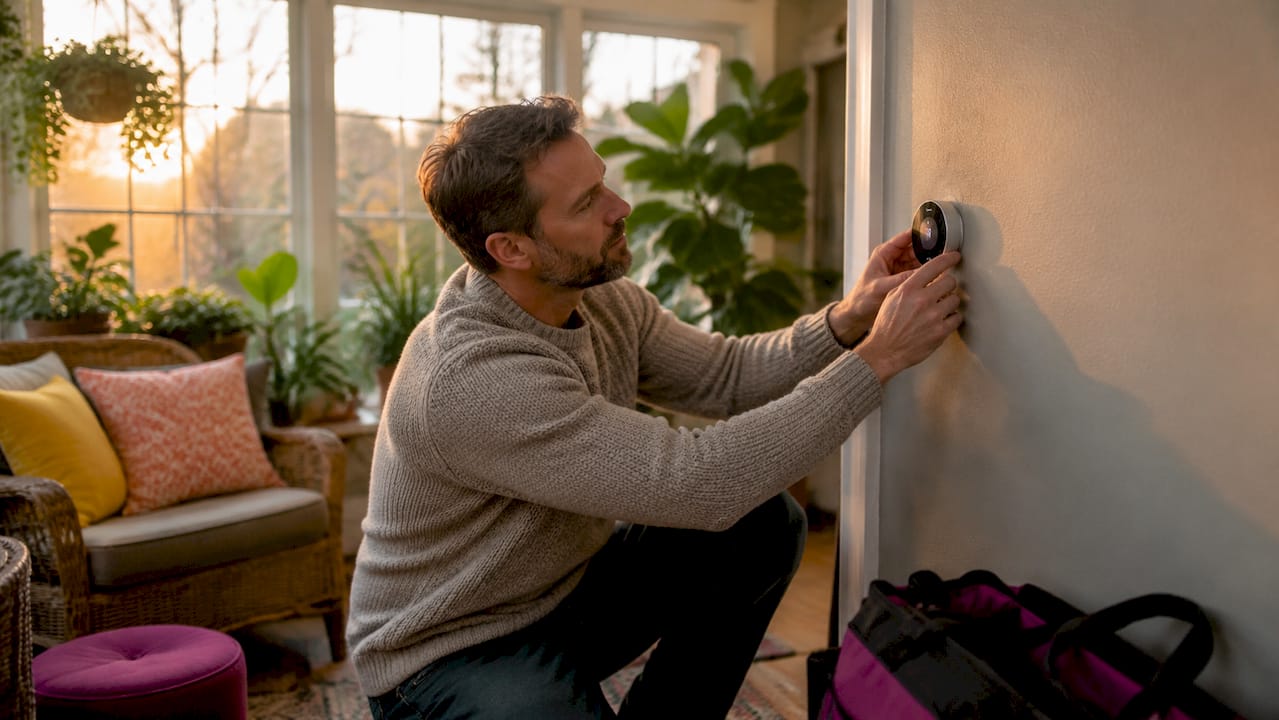
A programmable or smart thermostat automates this schedule so you never forget to adjust it manually. Models with geofencing detect when you leave and lower the heat automatically.
Pro Tip: Set your overnight temperature before you go to bed rather than waiting until you feel cold. Your body adjusts to slightly cooler sleeping temperatures within a few nights, and the savings are immediate.
2. Seal air leaks with caulk and weatherstripping
Air leaks are the silent drain on your heating budget. Sealing leaks with caulk and weatherstripping costs under $30 in materials but can cut heating bills by 10–20% by stopping heat from escaping.
The most common leak points are:
- Door frames and the gap under exterior doors
- Window frames and the joints where the frame meets the wall
- Attic access hatches, which are rarely insulated properly
- Electrical outlets and switch plates on exterior walls
- Gaps where pipes or wires pass through walls
One area most homeowners miss is the attic bypass. Attic bypasses where plumbing or wiring penetrate the attic floor act like chimneys, pulling warm air straight out of your living space. Standard insulation does not fix this. You need to physically seal those gaps with foam or caulk before adding insulation on top.
Pro Tip: Hold a lit incense stick near suspected leak points on a cold, windy day. The smoke will visibly drift toward any gap, pinpointing exactly where to apply sealant.
3. Maintain your HVAC system and furnace regularly
A neglected furnace works harder, burns more fuel, and breaks down sooner. A well-maintained HVAC system operates 15–25% more efficiently, saving the average homeowner $150–$450 per year. Professional furnace tune-ups typically cost $80–$200, which the energy savings offset within a single heating season.
Key maintenance tasks to complete every fall:
- Replace the air filter every 1–3 months during heating season.
- Clear all supply and return vents of furniture, rugs, and debris.
- Test the thermostat calibration against a separate thermometer.
- Inspect the flue pipe for blockages or corrosion.
- Check the blower belt for wear and proper tension.
Schedule furnace maintenance before november to avoid peak-season delays and emergency service rates. Technicians are fully booked once cold weather arrives, and emergency calls cost significantly more than planned tune-ups.
Short cycling, where the furnace turns on and off rapidly, is not a thermostat problem. It almost always signals a clogged filter, blocked airflow, or a failing flame sensor. Ignoring it accelerates equipment wear and raises your energy bill at the same time. A certified technician can diagnose and fix it in a single visit.
For a deeper look at maximizing heating efficiency in your existing system, the maintenance routines that matter most are covered in detail on the Hometsair blog.
4. Know the limits of DIY maintenance
DIY maintenance saves money on simple tasks, but it has a hard boundary. Complex tasks like burner cleaning or gas pressure adjustments require certified technicians because unauthorized work voids warranties and creates carbon monoxide risks.
Safe DIY tasks include:
- Replacing air filters
- Cleaning accessible vents and registers
- Checking thermostat batteries and settings
- Clearing debris from around the outdoor unit
- Visually inspecting visible ductwork for obvious gaps
Anything involving the combustion chamber, gas lines, electrical controls, or refrigerant requires a licensed technician. Carbon monoxide is odorless and colorless. A cracked heat exchanger or improperly adjusted burner will not announce itself until someone gets sick. The HVAC emergency repair checklist from Hometsair outlines exactly when to stop troubleshooting and call for help.
5. Lower your water heater temperature
Your water heater runs year-round, but it hits your budget hardest in winter when demand increases. Setting your water heater to 120°F saves 14–25% on water heating costs and eliminates the scalding risk that affects children and older adults.
Most water heaters ship from the factory set at 140°F. That extra 20 degrees costs real money and serves no practical purpose for most households. Lowering the dial takes under two minutes and requires no tools. If you have a dishwasher without a built-in booster heater, check the manual first, as some older models require 140°F water to sanitize properly.
Pair this adjustment with an insulating blanket on older tank-style water heaters. Heat loss through the tank walls adds up over a full winter, and an insulating blanket costs under $30 at any hardware store.
6. Manage humidity and airflow throughout your home
Humidity affects how warm your home feels at any given temperature. Dry winter air pulls moisture from your skin, making 68°F feel colder than it actually is. Maintaining indoor humidity between 30–50% lets you keep the thermostat slightly lower without feeling the difference.
If your furnace has a whole-home humidifier panel, replace the water panel every season. A clogged panel delivers no humidity and wastes water. Portable humidifiers work for individual rooms but require daily refilling and weekly cleaning to prevent mold growth.
Blocked vents cause uneven heat distribution and force your furnace to run longer cycles. Walk through every room and confirm that supply and return vents are fully open and unobstructed. Closing vents in unused rooms sounds logical but actually increases duct pressure and reduces overall system efficiency.
7. Diagnose the cause of unexpectedly high heating bills
A sudden spike in your heating bill has a specific cause. High heating bills result from weather severity, rate changes, thermostat habits, filter blockages, duct leaks, or overdue maintenance. Work through the list from cheapest to most expensive before calling for service.
Follow this diagnostic sequence:
- Pull your last three utility bills and compare usage in therms or kWh, not just dollar amounts. Rate increases can inflate your bill even when consumption stays flat.
- Check local weather data for the billing period. A colder-than-average month explains higher usage without any system problem.
- Inspect the air filter. A clogged filter is the most common cause of reduced efficiency and is free to fix if you have a spare on hand.
- Walk the house and check every vent for blockages. Move furniture or rugs that have shifted over the vent openings.
- Look for new air leaks around doors and windows. Weatherstripping compresses over time and loses its seal.
- Inspect accessible ductwork in the basement or attic for disconnected joints or visible gaps. Duct leakage sends conditioned air into unconditioned spaces.
- Check your thermostat settings. Someone may have adjusted the schedule without telling you.
Record each change you make and wait at least one billing cycle before drawing conclusions. Changing multiple things at once makes it impossible to know what actually worked.
Pro Tip: If your bill stays high after completing every step above, the problem is likely inside the furnace itself. Short cycling, unusual noises, or a yellow burner flame are all signs that a furnace repair call is overdue.
| Symptom | Most likely cause |
|---|---|
| Bill up, usage same | Utility rate increase |
| Bill up, usage up, cold month | Weather-related demand |
| Uneven heat room to room | Blocked vents or duct leak |
| Furnace cycles on and off rapidly | Clogged filter or flame sensor issue |
| Bill up after no changes | Overdue furnace maintenance |
Key Takeaways
A heating cost reduction checklist works best when you combine thermostat discipline, air sealing, and professional maintenance rather than relying on any single fix.
| Point | Details |
|---|---|
| Thermostat adjustment | Lowering 7–10 degrees for 8 hours saves up to 10% annually on heating costs. |
| Air sealing ROI | Under $30 in caulk and weatherstripping can cut heating bills by 10–20%. |
| Professional maintenance value | A tuned HVAC system runs 15–25% more efficiently, saving $150–$450 per year. |
| Water heater setting | Dropping to 120°F saves 14–25% on water heating and removes scalding risk. |
| Diagnose before you repair | Work through the cheapest fixes first before scheduling a service call. |
What I’ve learned after years of watching homeowners overpay for heat
Most homeowners tackle heating costs in the wrong order. They buy a smart thermostat first because it feels like a meaningful upgrade, then skip the air sealing because it seems too basic. The reality is the opposite. A $300 thermostat on a drafty house saves far less than $25 worth of weatherstripping applied to the right spots.
The other mistake I see constantly is ignoring maintenance timing. Homeowners wait until their furnace acts up in december to call a technician. By then, every HVAC company in the area is fully booked, emergency rates apply, and the homeowner pays twice what they would have in september. Scheduling a tune-up in early fall is one of the highest-return decisions you can make, and it takes one phone call.
Short cycling confuses people more than almost any other furnace issue. I have seen homeowners replace their thermostat twice trying to fix a problem that was actually a dirty flame sensor. The furnace runs for a few minutes, shuts off, and repeats. That is not a thermostat issue. That is a furnace issue, and it needs a technician, not a new device.
The checklist approach works because it forces you to address every layer of the problem, not just the most visible one. Thermostat habits, air sealing, maintenance, water heater settings, and humidity all interact. Fix them together and the savings are real and sustained.
— Blake
Hometsair’s furnace tune-up service keeps your system ready
Completing a seasonal heating preparation checklist on your own handles the basics. The tasks that require a trained eye, including flame sensor cleaning, heat exchanger inspection, and combustion analysis, need a certified technician.
Hometsair’s NATE-certified technicians serve Long Island homeowners with same-day availability and zero overtime fees. A furnace tune-up from Hometsair covers every item a professional inspection should include, and the 90% first-visit fix rate means you are not waiting through multiple appointments to get results. Book before the heating season peaks to lock in availability and avoid emergency pricing.
FAQ
How much can a heating cost reduction checklist actually save?
Combining thermostat adjustments, air sealing, and annual HVAC maintenance can realistically cut heating costs by 25–35% in a typical home. Each measure delivers independent savings that add up across a full heating season.
What is the easiest first step to reduce heating bills?
Adjusting your thermostat schedule is the fastest and cheapest first step. Lowering the temperature by 7–10 degrees during sleep and away hours saves up to 10% annually with no equipment cost.
How often should I replace my furnace filter?
Replace your furnace filter every 1–3 months during active heating season. A clogged filter restricts airflow, forces the furnace to work harder, and is one of the most common causes of short cycling and high energy bills.
Is it safe to do furnace maintenance myself?
Filter replacement, vent cleaning, and thermostat checks are safe DIY tasks. Burner adjustments, gas pressure checks, and heat exchanger inspections require a certified technician. Unauthorized work on combustion components voids warranties and creates carbon monoxide hazards.
When is the best time to schedule a furnace tune-up?
Schedule a furnace tune-up in early fall, before november if possible. Technicians are fully booked once cold weather arrives, and waiting until winter means higher rates and longer wait times.